This has to be one of the most commonly asked question we get about off-air TV Antennas. When the slightest drop in signal level can cause a digital signal to drop out, a pre-amp is a worth investment to make sure your holding on to every decibel you have.
Recommended tools:
Cable – We recommend using RG6 Coax Cable that has a solid copper conductor. Cables that have a copper coated steel conductor will work too, but cannot support long runs.
Installation

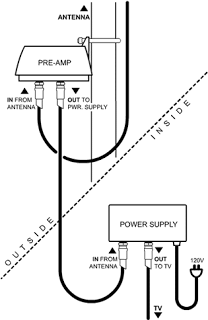
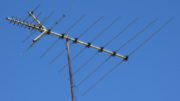
The amplifier should be installed as close to the antenna as possible. It´s most commonly attached to the antenna mast using the included U-bolt clamp.
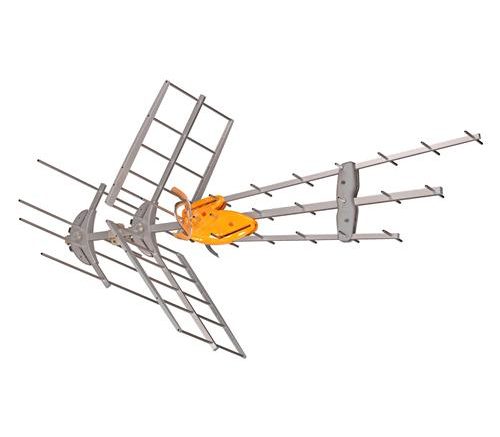
Next connect a short coax cable to the antenna, and connect the other end to the input on the pre-amp labeled “ANT. Input” or “VHF/UHF”
Next run a cable from output of the pre-amp, usually labeled “TV OUT” or something similar. This should be the cable run that goes outside from the building.
The power supply or power injector, should be installed in-line once the cable is inside the building. Connect your coax cable to the port labeled “From ANT.”
Once you have the cable connected to the input on the power injector, there should be one open port, labeled “To TV”. This is where you will connect your coax cable that leads out to the TV or splitters.
Make sure there isn’t any devices installed in-line between the pre-amp and the power supply. These can block the voltage that is being sent up the cable to power the amp, which results in a 80% reduced signal.


